Every year, working smoke detectors save thousands of lives by providing early warning during home fires. Knowing how to install a smoke detector correctly ensures your family is protected when it matters most. Whether you’re replacing an old unit, upgrading to a hardwired system, or installing detectors for the first time, proper placement, secure mounting, and electrical safety are critical. This guide walks you through every step, from choosing the right model to testing and maintaining your alarms, so your home meets safety codes and functions reliably.
Choose the Right Smoke Detector
Battery vs. Hardwired Models
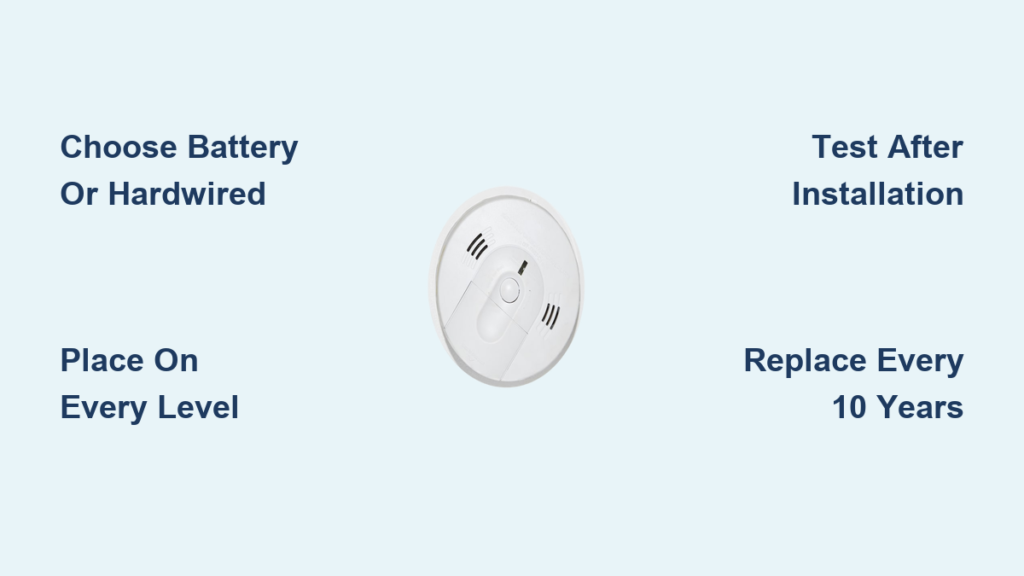
Battery-powered detectors are easy to install and ideal for older homes without existing wiring. They rely solely on batteries, either standard 9V or 10-year sealed lithium. The latter eliminates battery changes for a decade. Hardwired models connect to your home’s 120V electrical system and include a battery backup for power outages. They can also interconnect: when one alarm detects smoke, all alarms in the house sound simultaneously.
Dual-Sensor for Maximum Protection
Opt for dual-sensor models that detect both smoke and carbon monoxide, especially near kitchens and hallways. These units offer broader protection in high-risk areas. For long-term reliability, choose alarms with 10-year lithium batteries. No replacements needed, and the entire unit is replaced after a decade.
Check Compatibility When Replacing
Never reuse an old bracket. Manufacturers change designs, and mismatched brackets can prevent secure installation. Always use the mounting hardware included with the new detector.
Plan Proper Detector Placement

Install on Every Level
Place at least one smoke detector on every floor of your home, including the basement. Fires can start anywhere, and layered coverage ensures early detection no matter where you are.
Position Near Bedrooms
Mount detectors within 10 feet of bedroom doors. This placement captures smoke as it spreads into sleeping areas, giving occupants crucial escape time. Install one in the hallway outside bedrooms if direct proximity isn’t possible.
Avoid Dead Air Spaces
Don’t place detectors in corners. These create dead air spaces where smoke doesn’t circulate well. Keep units at least 4 inches away from walls and corners if wall-mounted. Ceiling mounting is preferred since smoke rises.
Steer Clear of Airflow Interference
Avoid installing near vents, ceiling fans, windows, or doors. Strong airflow can delay smoke entry into the sensor chamber, reducing responsiveness.
Gather Tools and Materials
Essential Tools for Installation
- Drill with 1/16-inch and anchor-sized bits
- Phillips head screwdriver
- Stud finder (or joist detector)
- Tape measure
- Hammer
- Tape (for marking locations)
- Needle-nose pliers (for hardwired models)
- Voltage tester (for electrical safety)
- Insulated tools (for working with live circuits)
Required Materials
- Drywall anchors (usually included with detector)
- Screws (supplied or reuse existing if compatible)
- Wire nuts (rated for 14/12 AWG wire, included or purchased separately)
Mount Battery-Powered Detectors
Mark the Center Ceiling Spot
Measure the room’s width and mark the center point. On a 40-inch ceiling span, mark 20 inches from each wall. Use tape to outline the bracket’s position. Centering ensures optimal smoke detection and visibility.
Scan for Ceiling Joists
Use a stud finder to check if a joist lies beneath your marked spot. If detected, screw directly into the joist. No anchor needed. If no joist is present, proceed with drywall anchors. Confirm with a pilot hole: if the drill bit meets resistance, stop. You’ve hit wood.
Drill Pilot Holes
Use a 1/16-inch drill bit to create small pilot holes at the bracket’s screw points. This prevents splitting drywall and confirms safe drilling depth. If the bit slips through easily, you’re in clear drywall.
Insert Drywall Anchors
Choose anchors that go at least halfway into the hole. Tap them flush with the ceiling using a hammer. Start with a smaller hole. You can enlarge it, but you can’t fix a loose anchor.
Secure the Mounting Bracket
Insert screws into the anchors and hand-tighten with a screwdriver. Avoid power tools to prevent over-tightening and cracking the bracket. Ensure it’s level and stable.
Snap on the Detector
Align the smoke alarm with the bracket and press down firmly until it clicks into place. Most modern units have a twist-lock or snap mechanism. No tools required.
Install Hardwired Smoke Detectors
Turn Off Power First
Go to your circuit breaker and turn off the power to the smoke detector circuit. This prevents electrical shock. Use a voltage tester to confirm no current is present before touching any wires.
Remove the Old Alarm Safely
Gently pull the unit down from the ceiling. Unplug the wiring connector first. This prevents triggering interconnected alarms throughout the house. Only then remove wire nuts and disconnect wires.
Disconnect and Inspect Wires
Remove the mounting plate and pull wires from the ceiling box. Check for loose or untwisted connections. Re-secure any frayed or poorly connected wires before proceeding.
Rewire: Neutral First, Then Hot and Ground
To reduce shock risk, start with the neutral wire (white):
1. Twist the two neutral wires together tightly with needle-nose pliers
2. Secure with a wire nut rated for 14/12 AWG
3. Repeat for the hot wire (black) and ground wire (bare copper or green)
Ensure no bare copper extends beyond the wire nut. A loose connection can cause arcing or failure.
Tuck Wires and Mount the Plate
Carefully push the connected wires back into the ceiling box. Align the new mounting plate with existing holes. Use original screws if they fit. This speeds up installation. Tighten firmly but avoid over-tightening, which can crack plastic.
Connect the New Alarm Unit
Slide the new detector onto the mounting plate until it clicks. Then plug the wiring connector into the back of the unit. Ensure it’s fully seated and secure.
No Stud Finder? Use This Trick
If you don’t have a stud finder, drill a tiny pilot hole at your marked spot. If the bit goes through easily, you’re in drywall and can use an anchor. If it stops abruptly, you’ve hit a joist. Screw directly in. This low-tech method avoids costly mistakes.
Test the Detector Immediately
Perform Initial Function Test
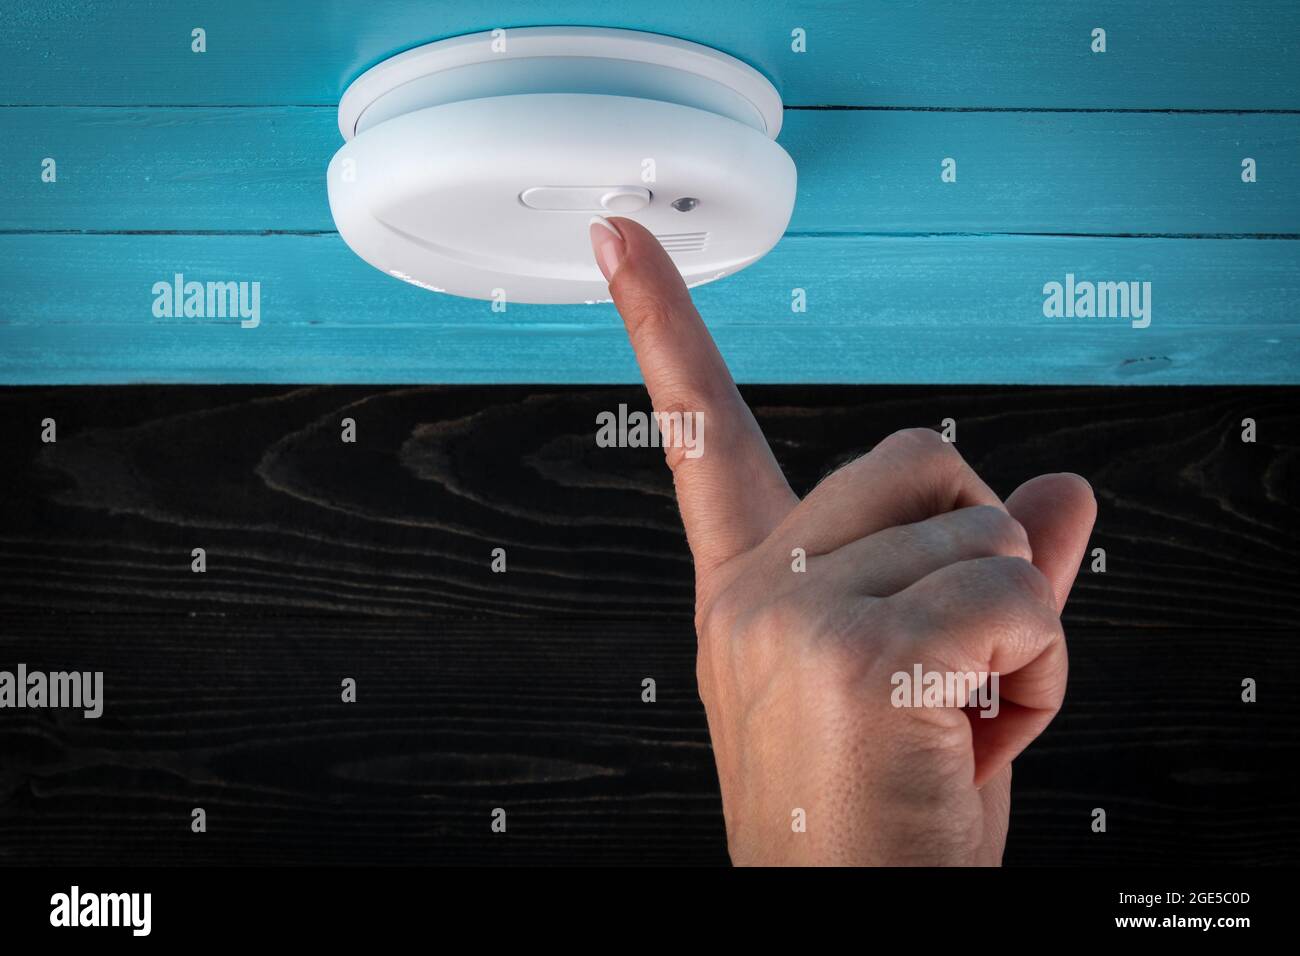
After installation, restore power (for hardwired units) and press the test button. You should hear a loud, clear alarm within seconds. If not, recheck wiring, battery, or mounting.
Verify Interconnection
If your system is interconnected, test one alarm and confirm all others sound simultaneously. This ensures full-home alert capability.
Check Battery Backup
Even hardwired units rely on battery backup during outages. After power restoration, listen for a low-battery chirp. This confirms the backup is active and functional.
Monthly Testing Routine
Press the test button once a month. Make it part of your routine. Pair it with changing clocks for daylight saving time. A working alarm should respond instantly with a loud tone.
Maintain Detectors for Longevity
Clean Sensors Annually
Dust and debris clog smoke sensors. Use a vacuum with a brush attachment to clean the exterior vents and interior chamber once a year. Do this during your battery replacement or daylight saving check.
Replace Batteries Twice a Year
For non-lithium models, replace batteries every six months. A common reminder is “change your clock, change your battery.” Even if no chirp occurs, replace them proactively.
Replace the Entire Unit Every 10 Years
Smoke detectors expire. Replace every unit after 10 years, regardless of apparent function. The sensors degrade over time. Look for the manufacture date on the back. Replace if it’s older than a decade.
Avoid Common Installation Mistakes
Don’t Reuse Old Brackets
Old brackets may not fit new models. Always use the hardware provided with the new detector to ensure compatibility and secure mounting.
Don’t Over-Tighten Screws
Hand-tighten screws only. Power tools can strip screws or crack plastic mounting plates. A snug fit is sufficient.
Don’t Skip the Pilot Hole
Drilling too large a hole ruins anchor grip. Always start small (1/16 inch) and expand only if needed.
Don’t Ignore Wire Gauge
Use wire nuts rated for your home’s wiring, typically 14 or 12 AWG. Undersized nuts create loose connections, a fire hazard.
Troubleshoot Installation Issues
Alarm Won’t Power On
- Battery-powered: Check battery orientation and charge
- Hardwired: Confirm power is on at the breaker and wiring is secure
- Test voltage at the ceiling box with a tester
Intermittent Beeping
- Likely a low battery or poor connection
- Replace battery or reseat wire nuts
- Ensure no bare wire is exposed
Interconnected Alarms Not Syncing
- Verify all units are on the same system and compatible
- Check that the interconnect wire (usually red) is properly connected
- Reset all alarms by holding the test button for 20 seconds
Follow Safety Codes and Best Practices
Meet Code Requirements
- Install detectors within 10 feet of bedroom doors
- Place on every level, including unfinished attics and basements
- Follow local building codes. Some require hardwired units in new constructions
Prioritize Electrical Safety
- Always turn off power at the breaker
- Use insulated tools and voltage testers
- Never work on live circuits
Use Correct Fasteners
- Match anchor size to screw diameter
- Use drywall anchors when no joist is present
- Reuse existing screws only if they fit securely
Frequently Asked Questions About Smoke Detector Installation
How often should I replace my smoke detector?
Replace your smoke detector every 10 years, even if it appears to work properly. Sensors degrade over time, and the manufacture date is printed on the back of the unit.
Can I install a smoke detector without a stud finder?
Yes. Drill a tiny pilot hole at your marked spot. If the bit goes through easily, you’re in drywall and can use an anchor. If it stops abruptly, you’ve hit a joist and can screw directly into it.
Where should smoke detectors not be placed?
Avoid corners (dead air spaces), near vents, ceiling fans, windows, or doors. Strong airflow can prevent smoke from reaching the sensor chamber, delaying alerts.
How do I avoid triggering all interconnected alarms when replacing one?
Always unplug the wiring connector first before removing wire nuts. Disconnecting wires while the connector is still attached can set off every alarm in the system.
What type of smoke detector is best for kitchens?
Dual-sensor models that detect both smoke and carbon monoxide work well near kitchens. They provide broader protection in areas where cooking fumes and gas appliances coexist.
Do hardwired smoke detectors need batteries?
Yes. Hardwired models include a battery backup that keeps the alarm functional during power outages. Listen for a low-battery chirp after installation to confirm the backup is working.
Key Takeaways for Installing a Smoke Detector
Choosing the right detector, placing it correctly, and securing it properly forms the foundation of a reliable home fire safety system. Always test your unit immediately after installation, then once a month, and replace batteries twice a year unless you have a 10-year lithium model. Most importantly, replace every smoke detector after 10 years regardless of apparent function, since sensors lose sensitivity over time. Take 30 minutes this weekend to check your detectors or install new ones. Your family’s safety depends on alarms that work when it matters most.