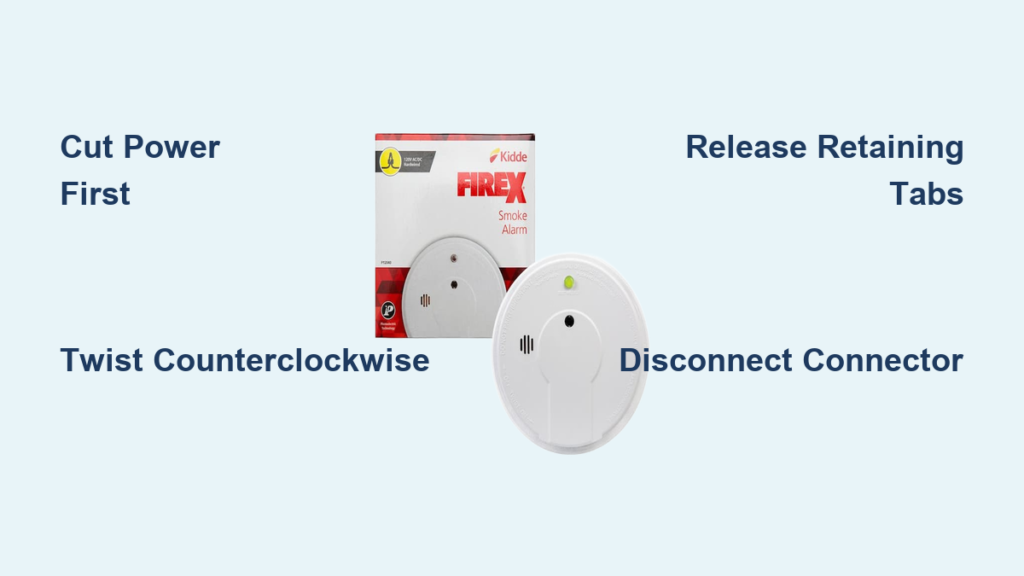
Your FireX smoke detector is beeping at 3 a.m., the unit is past its 10-year mark, and you need it gone. The problem is that a simple twist does nothing. The unit hangs from the ceiling, stubborn and stuck, because hidden retaining tabs are locking it in place. Many homeowners end up yanking the detector and cracking the housing or snapping wires. Knowing how to remove a FireX smoke detector the right way protects your ceiling, your wiring, and your safety. This guide shows you the exact method to release those tabs, disconnect the three-pin plug, and replace your unit in under 5 minutes.
Cut Power at the Circuit Breaker First
Before you climb a ladder, head to your breaker panel and shut off power to the smoke detector circuit. Even though FireX units have backup batteries, the ceiling wiring still carries live voltage. A shock from an energized wire can cause injury or damage your home’s electrical system.
Find the Right Breaker
Look for a breaker labeled “smoke alarms,” “hallway,” or “bedrooms.” If your panel is unlabeled, flip the breaker that controls the affected room and verify by testing another device on the same circuit.
Verify the Power Is Off
Use a non-contact voltage tester near the wires after you expose them. This quick check confirms no current is flowing. Never rely on the wall switch alone to kill power to a hardwired smoke detector.
Twist the FireX Unit Counterclockwise
Stand on a stable ladder and grip the detector firmly with one hand. Rotate it counterclockwise about a quarter to half turn. You’ll feel the unit release from the mounting plate and drop slightly, hanging by the wiring harness.
Support the Detector’s Weight
Let the unit dangle gently rather than letting it swing. Supporting the weight prevents strain on the connector and keeps the wires from pulling loose from the terminal block.
Locate the Hidden Retaining Tabs
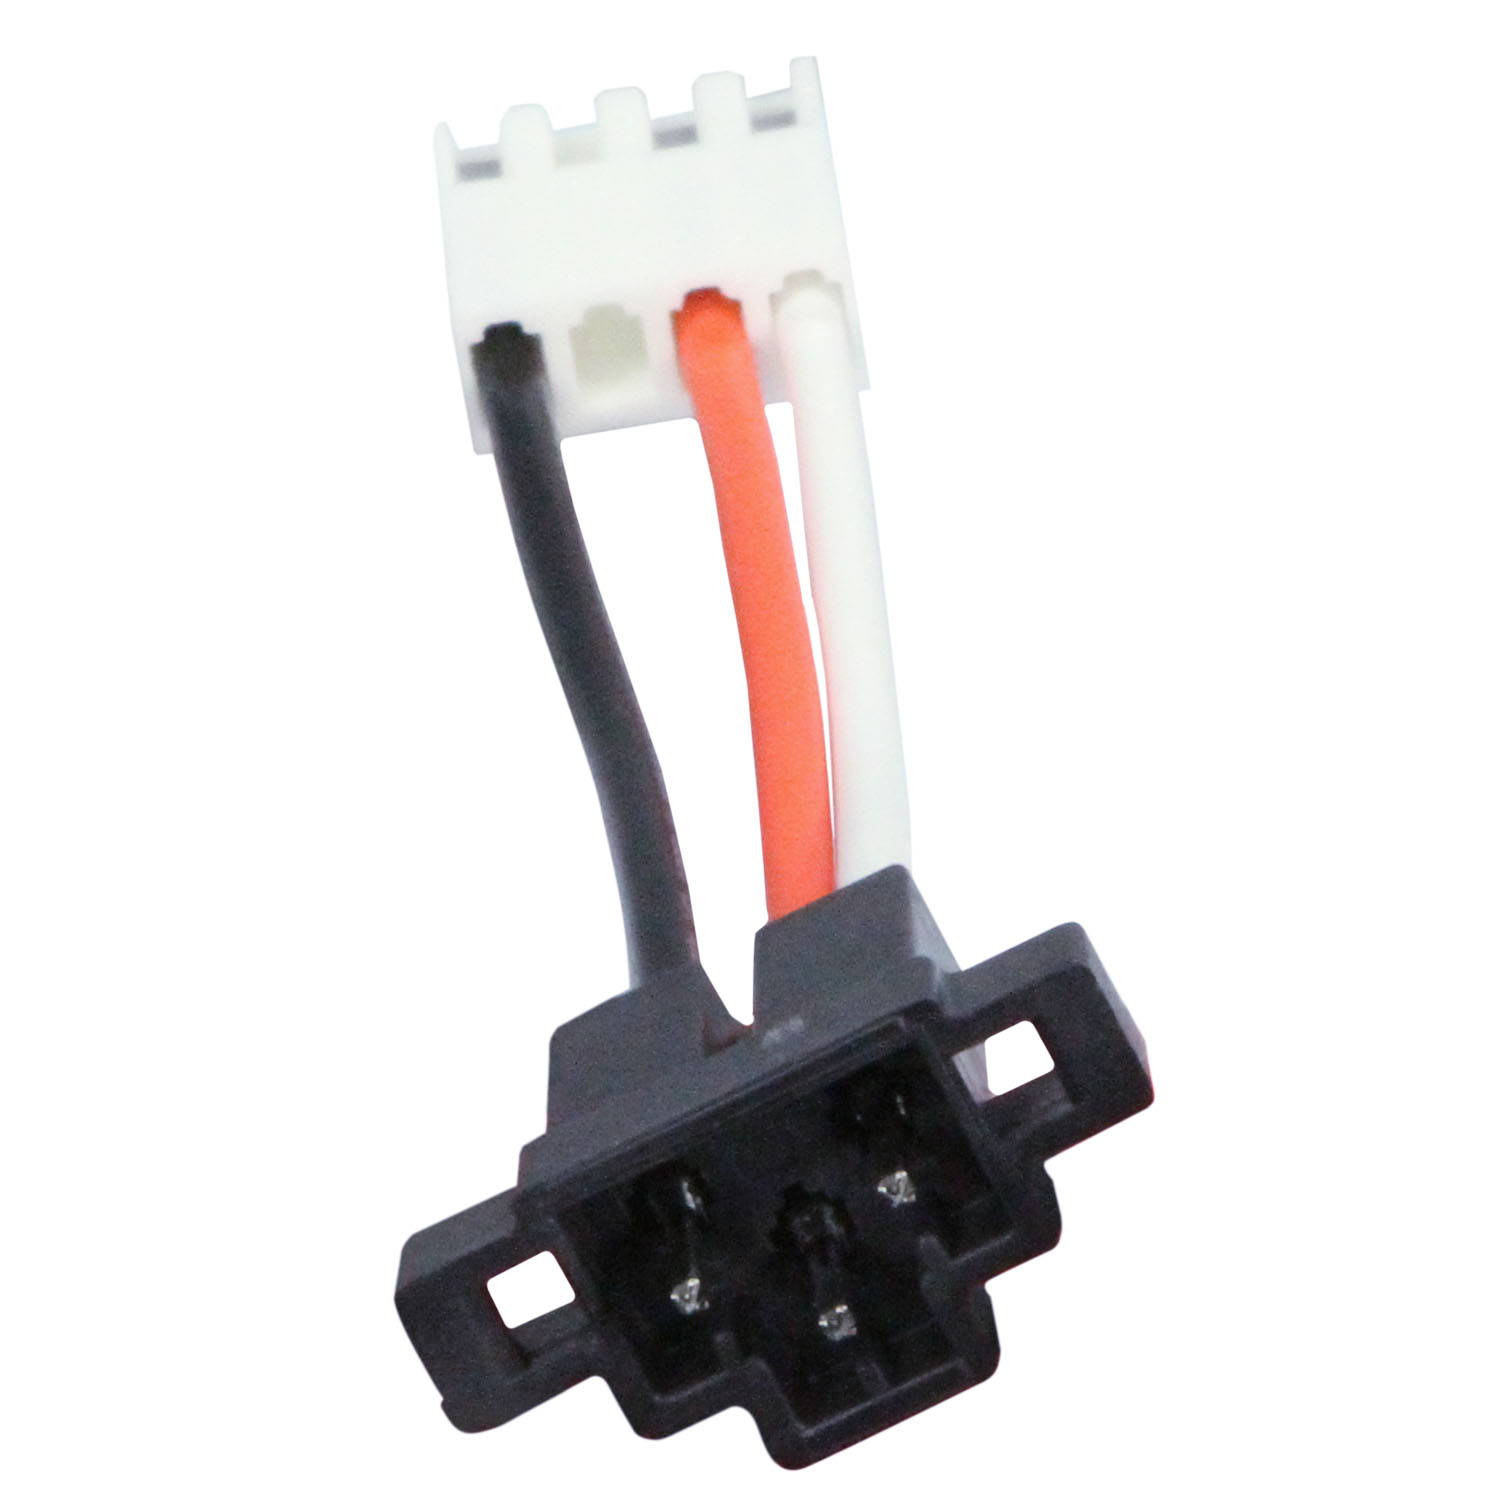
Once the detector is hanging, you’ll see the three-pin connector plugged into the ceiling socket. On both sides of this connector sit two small plastic retaining tabs that lock the plug in place. These tabs are the main reason the unit won’t pull free, and they are not visible from the front of the detector.
Why “Press and Pull” Fails on FireX Models
The instruction manual may tell you to press down on the back and pull straight out. On FireX units, this rarely works. The retaining tabs must be manually disengaged with a tool, or the connector will not budge.
Release the Right and Left Retaining Tabs
Grab a flathead screwdriver or plastic spudger and start with the right side tab. Insert the tool into the narrow gap between the male connector and the female socket. Gently wiggle or press inward to push the tab out of its slot. Repeat the same motion on the left side tab.
Apply Downward Pressure While Working
While prying each tab loose, use your other hand to apply slight downward pressure on the back of the unit. This helps break the locking grip and lets the connector slide out smoothly. Work slowly to avoid bending the pins or cracking the plastic housing.
Disconnect the Three-Pin Connector
Once both tabs release, the three-pin male connector will pop free from the ceiling socket. You’ll see a clear gap form as the plug slides out. The keyed shape ensures the plug only fits one way, so remember the alignment if you plan to reuse the wiring.
Use Non-Conductive Tools When Possible
A plastic spudger or butter knife reduces electrical risk compared to metal tools. If you must use a flathead screwdriver, keep it away from exposed wires and avoid touching metal surfaces near the connector.
Remove the Old Mounting Plate
If you’re replacing the entire system, take down the old mounting plate next. Loosen the screws with a screwdriver but leave them partially threaded. Slide the plate down slightly to free it from the anchors while keeping the wires supported.
Protect the Wiring During Removal
Never yank the plate off the ceiling. The wires are still connected and can be strained or pulled loose from the terminal block. Hold the wires gently as you lower the plate, and note the wire colors for reinstallation. Most FireX systems use black (hot), white (neutral), and red (interconnect).
Upgrade to the Kidde I4618 Replacement

FireX 120-1182B units should be replaced every 10 years. The Kidde I4618 is a top-rated, code-compliant upgrade that fits most existing setups with the included adapter kit. It offers better detection, longer battery life, and reliable interconnected performance.
Confirm the Adapter Is in the Box
Before installation, open the Kidde package and locate the adapter kit. This small connector is essential for linking the new detector to your older FireX wiring. Without it, the unit will not power on. If the adapter is missing, contact the manufacturer before proceeding.
Install the New Mounting Plate
Align the Kidde I4618 mounting plate over the existing screw holes. Secure with screws but avoid over-tightening. The plastic frame is durable but can crack under excessive force. Confirm the plate is level and sits flush against the ceiling.
Reuse the Existing Wiring
Match the wires from the ceiling to the adapter: black to black, white to white, red to red. The adapter bridges your old wiring to the new detector, so no rewiring is needed if the existing connections are intact.
Connect and Lock the New Detector
Insert the adapter firmly into the back of the Kidde I4618. Place a soft cloth behind the unit to protect the casing while pressing the adapter into place. Once connected, align the detector with the mounting plate and twist clockwise until you hear a click.
Confirm a Secure Lock
Give the unit a gentle downward tug. It should not move or spin. If it wobbles, remove it and re-align the connector. Misalignment prevents the twist-lock from engaging and can cause nuisance beeping.
Pull the Battery Safety Tab
After installation, locate the small plastic tab sticking out from the battery compartment on the back of the detector. This tab prevents the battery from activating during shipping. Pull it straight out to power on the unit.
Silence Beeping Instantly
If the tab stays in, the detector will chirp every 30 to 40 seconds, mimicking a low-battery warning. Removing the tab stops the beeping immediately. If chirping continues, confirm the tab is fully extracted and the battery is seated correctly.
Test the New Smoke Detector
Press and hold the test button on the front of the unit. A loud, sustained alarm confirms the detector has power and basic functionality. Release the button to silence the test alarm.
Run a Smoke Test
For full verification, light a match or candle, blow it out, and hold the smoke near the detector’s sensor. The alarm should sound within 10 to 15 seconds. This confirms the sensor responds to actual smoke, not just the test signal.
Test Interconnected Alarms Throughout the Home
If your system links multiple detectors, test every unit. Pressing the test button on one alarm should trigger all interconnected units simultaneously. This confirms the red interconnect wire is functioning across the network.
Fix Silent Units Quickly
If some alarms do not sound, check the wiring connections at each unit and verify the breaker is on. Older FireX models may not communicate with newer Kidde units unless properly connected through the adapter.
Troubleshoot Common Removal and Installation Issues
Detector Won’t Release After Twisting
The retaining tabs are still engaged. Use a flathead screwdriver to release both side tabs while applying downward pressure on the back of the unit.
Connector Stuck or Won’t Pull Free
The tabs are not fully disengaged, or debris is blocking the socket. Wiggle the tool gently in each gap and apply steady, even pressure. Avoid prying upward, which damages the connector.
Beeping After Installation
The battery safety tab is still inserted. Pull the tab straight out from the back. If beeping continues, check that the battery is oriented correctly and fully seated.
Unit Doesn’t Click Into Place
The connector is misaligned or the adapter is not fully seated. Remove the detector, inspect for damage, and re-align the pins before twisting clockwise again.
Frequently Asked Questions About FireX Smoke Detector Removal
How Do I Remove a FireX Smoke Detector That Won’t Twist Off?
Twist counterclockwise first to release the unit from the mounting plate. If the connector still won’t separate, locate the two retaining tabs on the sides of the plug and disengage them with a flathead screwdriver while applying downward pressure.
Do I Need to Turn Off the Power to Remove a FireX Smoke Detector?
Yes. Always shut off power at the circuit breaker before working on any wired smoke detector. The ceiling wiring carries live voltage even if the unit has a backup battery, and a shock can cause serious injury.
What Tool Do I Use to Release the Retaining Tabs on a FireX Detector?
A flathead screwdriver works well for disengaging the side tabs. A plastic spudger or butter knife is a safer alternative since it reduces electrical risk when working near wiring.
Why Does My New Kidde I4618 Keep Beeping After Installation?
The battery safety tab is still in place. Pull the small plastic strip out from the back of the detector to activate the battery. If beeping persists, check the battery orientation and confirm the adapter is fully seated.
How Long Does It Take to Replace a FireX Smoke Detector?
Most homeowners complete the entire process in under 5 minutes per unit, including removing the old detector, swapping the mounting plate, and testing the new alarm.
Can I Replace a FireX Detector with Any Brand?
Most modern detectors fit existing wiring with the correct adapter kit. The Kidde I4618 is a popular replacement for the FireX 120-1182B because it includes the adapter and is fully code-compliant.
Key Takeaways for Safely Removing Your FireX Smoke Detector
Removing a FireX smoke detector takes more than a simple twist. The hidden retaining tabs on the three-pin connector require a flathead screwdriver and gentle downward pressure to release. Always cut power at the breaker before starting, and support the unit’s weight to avoid damaging the wiring. Once removed, upgrading to a Kidde I4618 with the included adapter gives you a modern, code-compliant detector that installs in minutes. Test your new alarm with the test button and a real smoke source, then check every interconnected unit in your home. Replace every smoke detector in your house every 10 years to keep your family protected.