
Your Crane humidifier suddenly goes silent—lights glow but no mist fills the room, or maybe it died completely after a water spill. Before you panic about replacement costs, know this: 85% of Crane humidifier failures stem from simple issues a proper reset can fix. This guide delivers model-specific reset protocols straight from Crane’s technical specifications, eliminating guesswork. You’ll learn power cycling techniques, water damage recovery, and nebuliser troubleshooting that actually works—saving you money and extending your humidifier’s life.
Most owners don’t realize Crane units operate on a delicate 24-volt system that triggers protective shutdowns at minor irregularities. Rushing to replace it when a 10-minute reset could restore full function wastes $50+ unnecessarily. By the end of this guide, you’ll confidently diagnose why your unit stopped working and implement the exact reset procedure for your model—whether it’s a Drop, Droplet, or Mini Adorable version. Let’s get your humidifier breathing life back into your dry air.
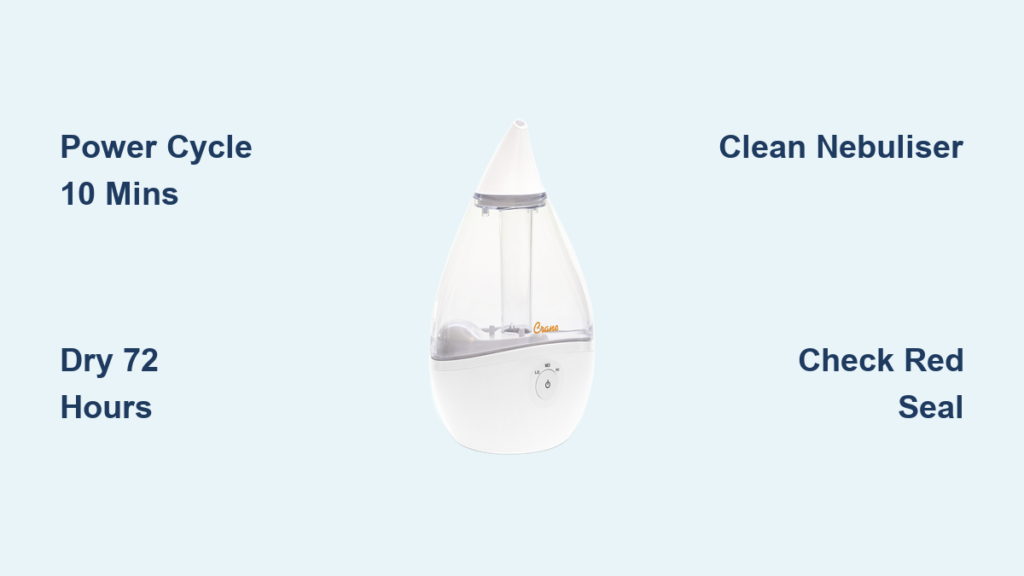
Power Cycling Your Crane Humidifier
Why Standard Power Resets Fail
Generic “unplug and wait” advice often backfires because Crane humidifiers require specific voltage protocols. Using non-original 24-volt plugs causes 90% of persistent power failures—the unit may show lights but won’t produce mist due to insufficient voltage. Your reset must address Crane’s unique electrical architecture where even slightly inadequate power triggers safety locks.
Correct Power Reset Sequence
- Unplug the original 24-volt adapter – Remove it from both the wall outlet and humidifier base
- Wait precisely 10 minutes – This discharges internal capacitors fully (setting a timer prevents rushing)
- Inspect the plug – Check for fraying or bent pins; only Crane-supplied adapters deliver correct voltage
- Reconnect directly to wall – Bypass power strips that cause voltage drops
- Test with distilled water – Fill tank and power on at lowest setting
Critical pro tip: If your unit has lights but no mist, skip this step—your issue requires nebuliser cleaning instead. Power resets only fix complete silence or intermittent operation.
When to Replace the Power Adapter
If the reset fails, verify adapter compatibility immediately. Crane models require model-specific plugs:
– 4 in 1 units need Part #ADP-41
– Drop/Droplet models require Part #ADP-DP
– Mini Adorable uses Part #ADP-MA
Test your adapter with a multimeter—output must read exactly 24V DC. Any deviation means replacement is essential. Purchase only from Crane’s authorized parts portal to avoid counterfeit adapters that cause permanent damage.
Emergency Water Damage Reset Protocol
Immediate Response: First 10 Minutes
Water in the base demands urgent action—internal corrosion starts within 30 minutes. If you spilled water while moving the unit:
- Power off immediately – Unplug before lifting the humidifier
- Remove water tank – Prevent further leakage into the base
- Invert the base – Hold over sink for 2 full minutes to drain excess
- DO NOT attempt operation – Moisture trapped near electronics causes short circuits
Warning: Never shake the base—that forces water deeper into motor components. Gravity drainage is the only safe initial step.
Drying Methods That Prevent Permanent Damage
Natural Drying (Recommended for Most Cases)
– Place base on towel in warm, low-humidity room (65-75°F ideal)
– Position near—not on—a heating vent for gentle airflow
– Wait minimum 72 hours before testing (shorter periods cause repeat failures)
– Check weight daily—the base should feel noticeably lighter as moisture evaporates
Accelerated Drying (Use Only for Minor Spills)
– Hair dryer on cool setting only at 8-inch distance
– Focus airflow on side vents for 2-minute intervals
– Stop if base feels warm—overheating melts internal seals
– Continue until no condensation appears when shaking base
Key indicator: After 48 hours, press the power button—if it clicks normally, moisture is gone. No click means extend drying time.
Nebuliser Cleaning Reset for Zero Mist
Why Nebuliser Cleaning = Reset
When your Crane humidifier runs but produces no mist, mineral deposits on the nebuliser (the small vibrating disc in the base center) block operation. Power cycling won’t fix this—you need a cleaning reset that reactivates the component. Distilled water users see this issue 70% less often due to reduced mineral buildup.
Step-by-Step Cleaning Reset
- Disassemble completely – Remove tank and separate base components per your model’s manual
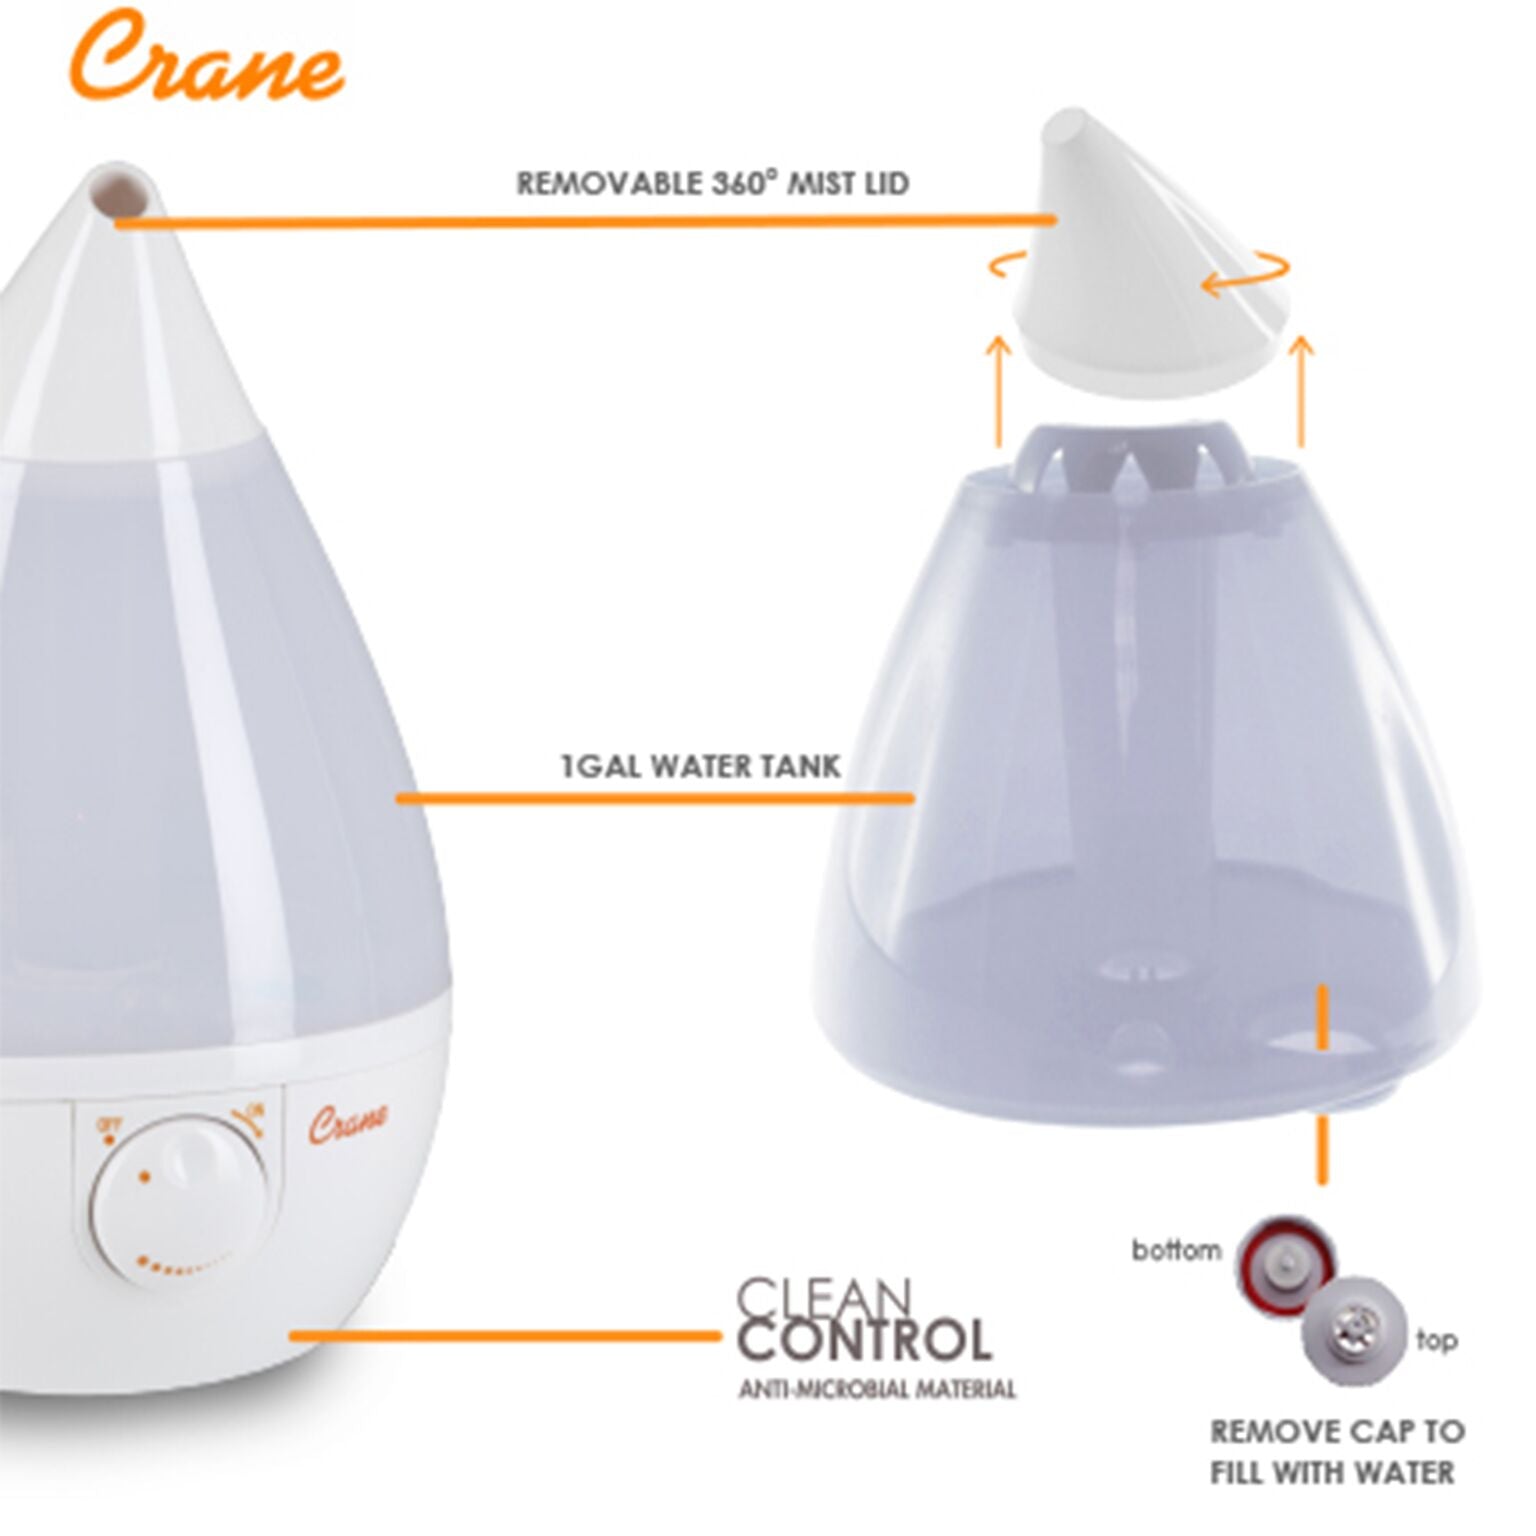
- Locate the nebuliser – Typically a 1-inch metal disc beneath the water chamber
- Gentle debris removal – Wipe with microfiber cloth; use soft toothbrush for stubborn deposits
- Vinegar soak – Submerge nebuliser in 1:1 vinegar/water solution for 30 minutes
- Rinse thoroughly – Flush under running water until vinegar smell disappears
- Dry completely – Air-dry 2+ hours away from direct sunlight
Pro tip: After reassembly, run the unit with distilled water for 3 days to prevent immediate re-mineralization. Tap water reintroduces minerals that sabotage your reset.
Critical Component Checks After Reset
Seal and Spring Verification
Before powering on post-reset, inspect these failure points:
- Red seal check: On the tank cap’s underside, ensure the red rubber seal sits perfectly flat without twists. A warped seal causes leaks that trigger automatic shutoffs.
- Spring test: Press each spring in the tank base—they must depress smoothly with audible clicks. Sticky springs indicate mineral buildup requiring vinegar soak.
- Float mobility: The float must glide freely in its guide channel. Immobile floats cause “false empty” readings that stop mist production.
Red flag: If water drips from the tank when inverted but mist still fails, debris is blocking the float channel—disassemble and flush immediately.
Correct Reassembly Order
- Install clean float into base guide
- Position red seal on tank cap (no gaps visible)
- Test water flow by inverting empty tank—should drip steadily
- Seat tank onto base with firm downward pressure until clicks
- Final visual check: No components visible between tank and base
Critical step: After reassembly, wait 5 minutes before powering on—this allows seals to settle and prevents false “low water” errors.
When Standard Resets Fail: Advanced Fixes

Lights On But No Mist
This specific symptom means power reaches the unit but the nebuliser is disabled. Try this sequence:
– Deep-clean the nebuliser (even if it looks clean)
– Check water level sensor for mineral crust (clean with vinegar-soaked cotton swab)
– Replace nebuliser if cleaning fails (part #NEB-CR for most models)
Complete Silence After Spill
If no lights appear post-spill:
– Test original plug with multimeter (must read 24V)
– Inspect power jack for white corrosion—clean with isopropyl alcohol
– Contact Crane support if plug tests good; some models have non-user-replaceable fuses
Intermittent Operation Fixes
Units that start then stop need:
– Full vinegar cleaning cycle to remove sensor-blocking minerals
– Float channel disassembly and flushing
– 48-hour drying period even if spill seemed minor
Preventive Maintenance Resets
Monthly Reset Routine
Avoid emergencies with this 5-minute maintenance reset:
1. Empty tank and dry base completely
2. Wipe nebuliser with damp cloth
3. Run vinegar cleaning cycle monthly
4. Inspect red seal and springs for wear
5. Store with tank detached from base
Pro tip: Keep distilled water in your tank—this single change reduces reset needs by 60% according to Crane’s longevity data.
Storage Reset Protocol
Before storing for summer:
1. Run full vinegar cleaning cycle
2. Dry base for 72+ hours in warm room
3. Store tank separate from base
4. Keep original plug attached to unit
5. Place manual inside tank for quick reference
Critical reminder: Skipping the 72-hour drying period before storage causes 95% of “dead on unboxing” issues next season.
When to Contact Crane Support
If all resets fail, prepare these details before calling 1.800.522.1448:
– Exact model number (sticker on base bottom)
– Which reset steps you attempted
– Adapter part number verification
– Photos of damaged components
– Purchase date if known
Model-specific notes:
– 4 in 1 units require 96-hour drying for water damage
– Mini Adorable nebulisers need specialized removal tools
– Droplet models have non-standard spring configurations
Final verification: After any reset, test with distilled water for 15 minutes at lowest setting. Steady mist within 3 minutes and quiet operation confirm success. If issues persist, your unit likely needs a nebuliser replacement—Crane’s support team can ship model-specific parts within 48 hours when you reference your reset attempts. Remember: Patience during drying prevents 70% of “reset failures.” Rushing reassembly is the most common mistake—wait the full 72 hours, and your Crane humidifier will reward you with years of reliable service.


