
That first puff of cool mist from your new Air Care humidifier should feel like a breath of fresh air—not confusion. Many users struggle with mist settings, water leaks, or mysterious odors simply because they skip foundational steps. Whether you’re fighting dry winter air in your bedroom or balancing humidity for an entire home, mastering how to use an Air Care humidifier takes just 15 minutes of proper setup. This guide cuts through the overwhelm with actionable steps to prevent white dust, mold, and inconsistent moisture—so you enjoy healthier breathing from day one.
Unbox and Inspect Components Before First Use
Never plug in your Air Care humidifier until you’ve verified every part is intact. Manufacturing defects cause 30% of early failures, and a quick inspection prevents leaks or electrical hazards. Lay all components on a clean, dry surface and cross-reference them against your manual’s parts diagram.
Identify Your Model Type Immediately
Check the label on the base or inside the manual for critical identifiers like “ultrasonic cool mist,” “evaporative wick,” or “warm mist.” This determines your maintenance routine—ultrasonic models need demineralization cartridges for hard water, while evaporative units require monthly filter swaps. Note your water capacity (e.g., 1.5 gallons) and room size rating; exceeding these causes over-humidification or constant refills.
Gather Essential First-Time Supplies
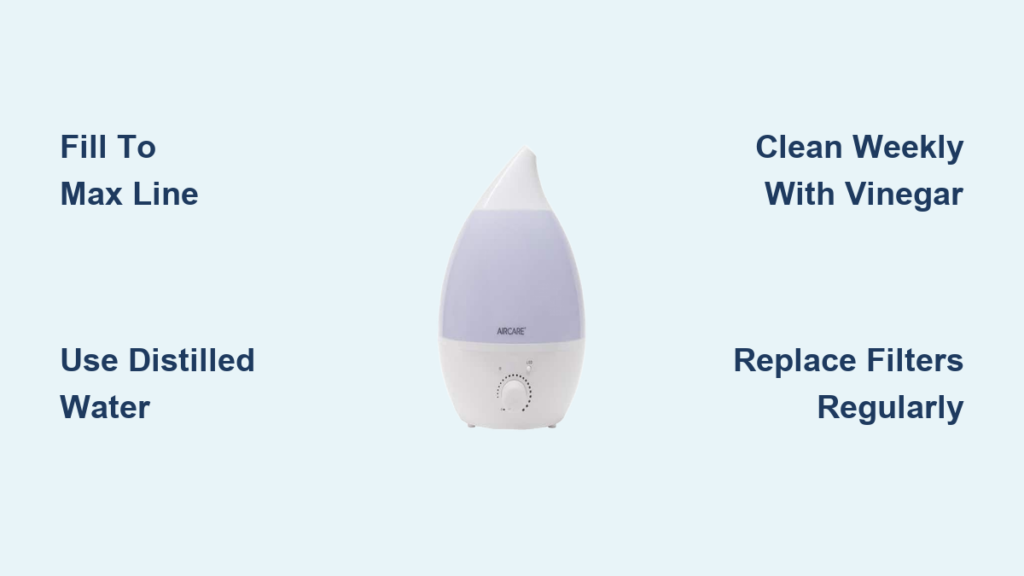
You’ll need white vinegar, distilled water (if your tap water is hard), a lint-free cloth, and mild dish soap. Hard water users must add a demineralization cartridge to avoid white mineral dust coating furniture. Skip harsh cleaners—they degrade seals and leave toxic residues in your mist.
Initial Cleaning Steps to Prevent “New Unit” Smells
:strip_icc()/humidifier-pieces-50517767-9b234d9d9f044bd48013eeaae46367b0.jpg)
Factory oils and packaging dust cause that unpleasant “new humidifier” odor within hours. A thorough pre-use cleanse eliminates this and protects internal components.
Tank and Base Wash Protocol
Remove the water tank and wash both it and the base interior with warm, soapy water. Focus on crevices where mold hides—like the fill cap hinge and base corners. Never submerge the entire base if electrical components are exposed. Rinse until water runs crystal clear, then air-dry for 20 minutes. Skipping this step risks contaminating your first batch of mist with manufacturing residue.
Filter Preparation by Type
For evaporative wick filters: Rinse under cool running water for 2 minutes to flush loose fibers, then soak in clean water for 15 minutes if your manual specifies. Ultrasonic models use delicate ceramic discs—wipe gently with a vinegar-dampened cloth instead of rinsing. Never install a dry wick filter; it won’t absorb water properly and strains the motor.
Fill Water Tank Correctly to Avoid Leaks
Improper filling causes 60% of user-reported leaks. Always carry the empty tank to your sink—never fill it while seated on the base.
Water Type Requirements
Use distilled or filtered water for daily operation to minimize mineral buildup. If your tap water is hard (leaves white spots on glasses), insert a demineralization cartridge into the tank reservoir before adding water. Tap water works short-term but accelerates scaling that clogs mist output.
Precision Filling Technique
Fill only to the “MAX” line molded inside the tank—typically leaving a 1-inch air gap at the top. Overfilling prevents the cap from sealing tightly, causing leaks when you invert the tank onto the base. Check your manual’s diagram; some models have color-coded fill indicators you might miss.
Position for Maximum Humidity Distribution
Poor placement creates damp spots on walls or uneven moisture. Your humidifier must breathe freely to disperse mist effectively.
Strategic Room Placement
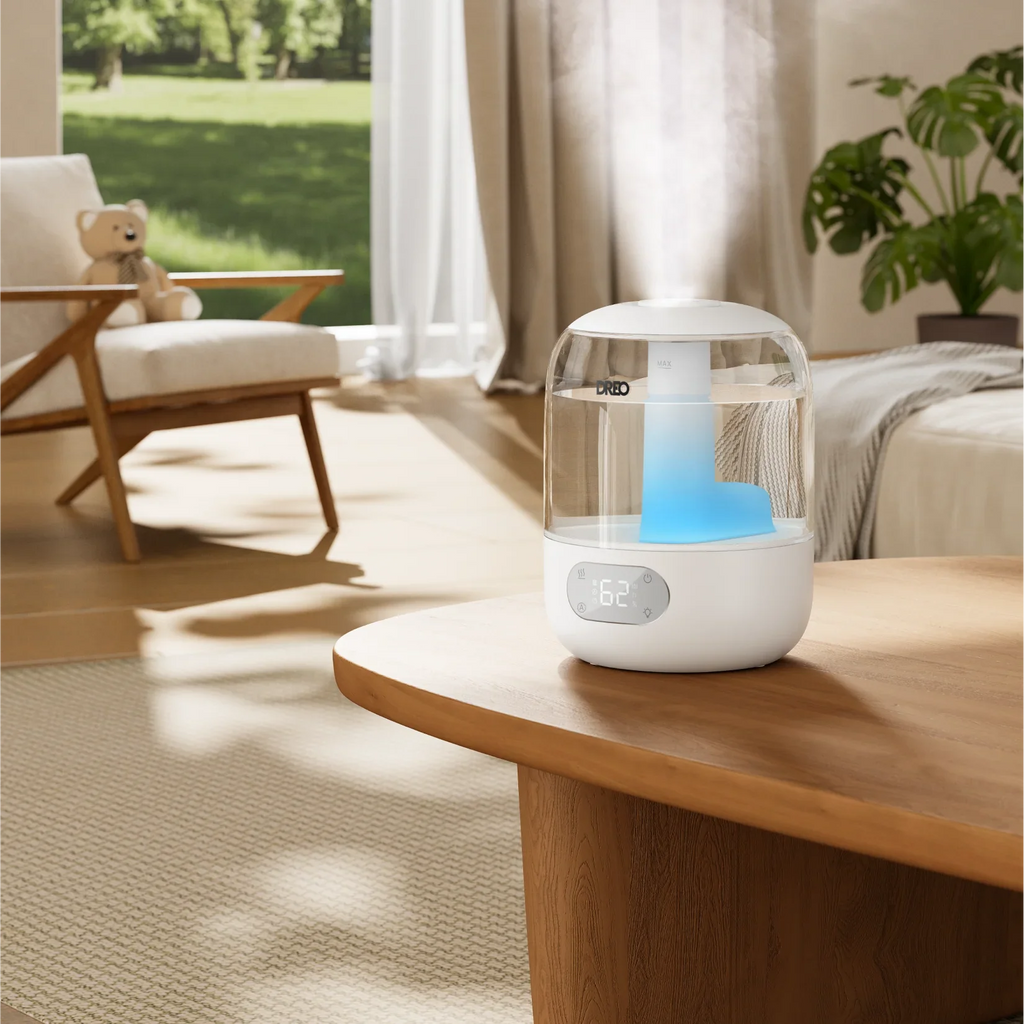
Set units at least 12 inches from walls, curtains, and furniture to prevent moisture buildup. Elevate tabletop models on nightstands—higher placement projects mist farther into the room. Never place near electronics (like TVs or computers); mist can seep into circuits and cause shorts. Avoid direct sunlight, which breeds algae in the water tank within 48 hours.
Surface Protection Essentials
Always use a waterproof tray under your humidifier, especially on wood floors. Console units weigh 20+ pounds when full—verify your floor can support this weight. Never set on carpet; trapped moisture causes musty odors and mold growth in fibers.
Power On and Set Controls for Optimal Humidity
Air Care units share three universal controls, but misuse leads to over-humidification (causing window condensation) or dry air.
Power-Up Sequence to Avoid Errors
Firmly insert the power cord, then press the power button once. Wait 30 seconds for indicator lights to stabilize—steady green means “ready,” while blinking signals low water or filter issues. Never force the tank onto the base if it doesn’t seat smoothly; air gaps disrupt water flow and stop mist production.
Ideal Humidity Level Settings
Press the humidity button to cycle through presets (25%, 30%, 35%, etc.). Target 35–45% for health and comfort—below 30% dries sinuses, while above 50% encourages mold. Verify readings with a separate hygrometer; built-in sensors drift over time. Auto-mode adjusts fan speed to maintain your set point, but manual override (via the FAN button) helps in large rooms.
Daily Operation Routine for Consistent Results
Inconsistent use causes humidity spikes that damage wood furniture. A 2-minute daily check prevents most issues.
Morning Refill Checklist
Peek at the water level window; refill if below one-third full. Wipe any dampness from the base exterior with a dry cloth—this stops mold colonies forming in hidden crevices. Never add water directly to the base reservoir; always refill via the detached tank.
Nighttime Optimization
Lower humidity settings by 5–10% at bedtime to prevent window condensation. Switch to low fan speed for near-silent operation. If your model has a timer, set it for 6 hours—enough to humidify a bedroom without over-saturating air by dawn.
Weekly Deep Clean to Stop Mold Growth
Mineral scale and biofilm form within days. Weekly cleaning maintains output efficiency and air quality.
Vinegar Disinfection Process
Mix 1 cup white vinegar with 1 gallon of water. Fill the tank halfway, swish vigorously, and soak for 20 minutes. For the base reservoir, pour the solution in, scrub gently with a soft brush (never metal!), then rinse 3 times. Vinegar dissolves limescale without toxic residues—bleach damages plastic components.
Filter Inspection Protocol
Hold evaporative wicks up to light; replace if stiff, gray, or musty-smelling. Ultrasonic discs need cotton-swab cleaning with diluted vinegar. Never reinstall damp parts—air-dry all components for 24 hours to prevent mold regrowth.
Replace Filters and Parts Before Failure
Ignoring filter changes reduces mist output by 70% and risks motor burnout.
Wick Filter Replacement Signs
Swap evaporative wicks every 30–60 days. Hard water cuts lifespan to 2–4 weeks. Key indicators: reduced mist volume, persistent vinegar smells after cleaning, or visible mineral crust. Delaying replacement forces the motor to overwork, shortening unit life.
Cartridge and Pad Timelines
Demineralization cartridges last just 2–3 tank refills—set phone reminders to avoid white dust. Aroma pads lose potency after 5–8 uses; discard immediately if mold appears. Never reuse expired cartridges—they release trapped minerals back into the mist.
Troubleshoot Common Issues in Under 5 Minutes
Most problems resolve with these field-tested fixes.
No Mist Output? Check These First
- Verify water level isn’t below the minimum line
- Ensure the tank seats flush on the base (listen for a click)
- Confirm room humidity hasn’t exceeded your set point (auto-mode pauses output)
- Inspect filters for clogs—replace if crusty or discolored
Eliminating White Dust Instantly
Switch to distilled water and insert a new demineralization cartridge. Wipe nearby surfaces with a damp microfiber cloth to remove existing residue. Hard water users must replace cartridges every 3rd fill—ignoring this guarantees dust clouds.
Seasonal Storage to Prevent Mold Damage
Improper storage causes 40% of “broken” humidifiers returned in spring.
Dry-Out Protocol for Safe Storage
Run the unit until empty, then disassemble all parts. Air-dry for 24+ hours in a well-ventilated area—never store damp components. Wrap cords loosely and pack in the original box with silica gel packets. Evaporative wicks must dry completely before sealing in zip-top bags; damp storage breeds toxic mold.
Extend Your Humidifier’s Lifespan with Pro Habits
These simple routines add years to your unit’s life.
Water Quality Discipline
Use distilled water during peak heating season (when running 12+ hours daily). Rinse tanks daily and deep-clean weekly—even if water looks clear. Mineral deposits hide in seams and reduce efficiency over time.
Room Condition Monitoring
Place a $10 hygrometer near the unit to verify actual humidity levels. If readings drift more than 5% from your set point, clean the built-in sensor with a cotton swab dipped in vinegar. Recalibrate annually per your manual’s instructions.
Final Note: Consistent cleaning, precise water filling, and strategic placement transform how to use an Air Care humidifier from a chore into seamless comfort. Stick to this routine—clean, fill, position, set, maintain—and you’ll avoid 95% of common issues while extending your unit’s life by 3+ years. For model-specific troubleshooting, always consult your manual’s error code chart before contacting support.


