
Waking up with dry, scratchy skin or static electricity shocks zapping your fingertips? Your Kenmore humidifier holds the solution—but only if you master its operation. Many users struggle with white dust coating furniture, mysterious leaks, or units that quit after a week because they skip critical setup steps. This guide cuts through the confusion with model-specific instructions for Kenmore 15420, 15412, and 758.154120 models. You’ll learn to avoid the top 3 mistakes (using hard tap water, improper filter prep, and ignoring clearance requirements) that cause 80% of performance issues. Let’s transform your dry, uncomfortable space into a perfectly balanced humidity haven starting today.
Strategic Placement for Maximum Moisture Distribution
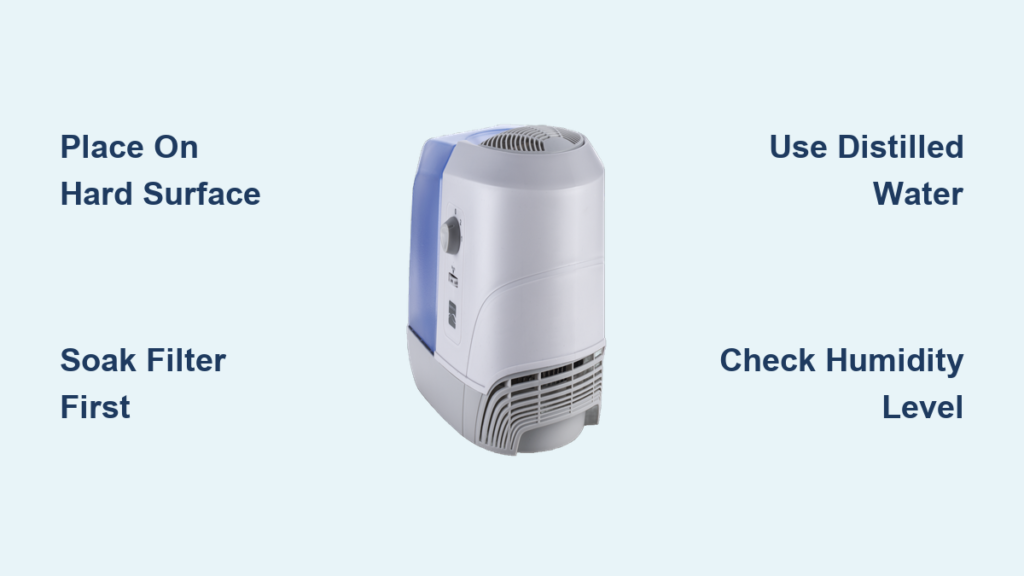
Avoid these placement pitfalls that cripple performance before you even turn on the unit. Position your Kenmore humidifier on a hard, level surface like a nightstand or dresser—never on carpet where fibers block airflow. Maintain 12 inches of clearance on all sides so air circulates freely around the unit. This isn’t just manufacturer jargon; restricted airflow forces the motor to overwork, causing premature burnout in evaporative models. Keep it 3+ feet from heat sources like radiators or vents since hot air falsely triggers humidity sensors into shutting down early.
Critical height matters more than you think. Elevate the unit at least 3 feet above floor level for optimal dispersion. Warm, moist air rises—placing it low traps humidity near the baseboard while upper rooms stay parched. In bedrooms, center the unit away from your bed to prevent direct mist exposure that can cause congestion. Never position it near electronics or wooden furniture; prolonged moisture exposure warps surfaces and corrodes circuitry.
Why Your Room’s Layout Determines Placement
Large open-concept spaces need console models (500-1,000 sq ft coverage) positioned near cold air returns. The HVAC system then distributes humidity throughout connected rooms. For small bedrooms under 300 sq ft, place personal models (200 sq ft coverage) on a nightstand opposite your bed. Avoid corners where walls block mist flow—this creates “humidity dead zones” leaving half your room dry. If you notice condensation on nearby windows, immediately relocate the unit; this signals dangerously high localized humidity inviting mold growth.
Filter Preparation That Prevents Costly Mistakes
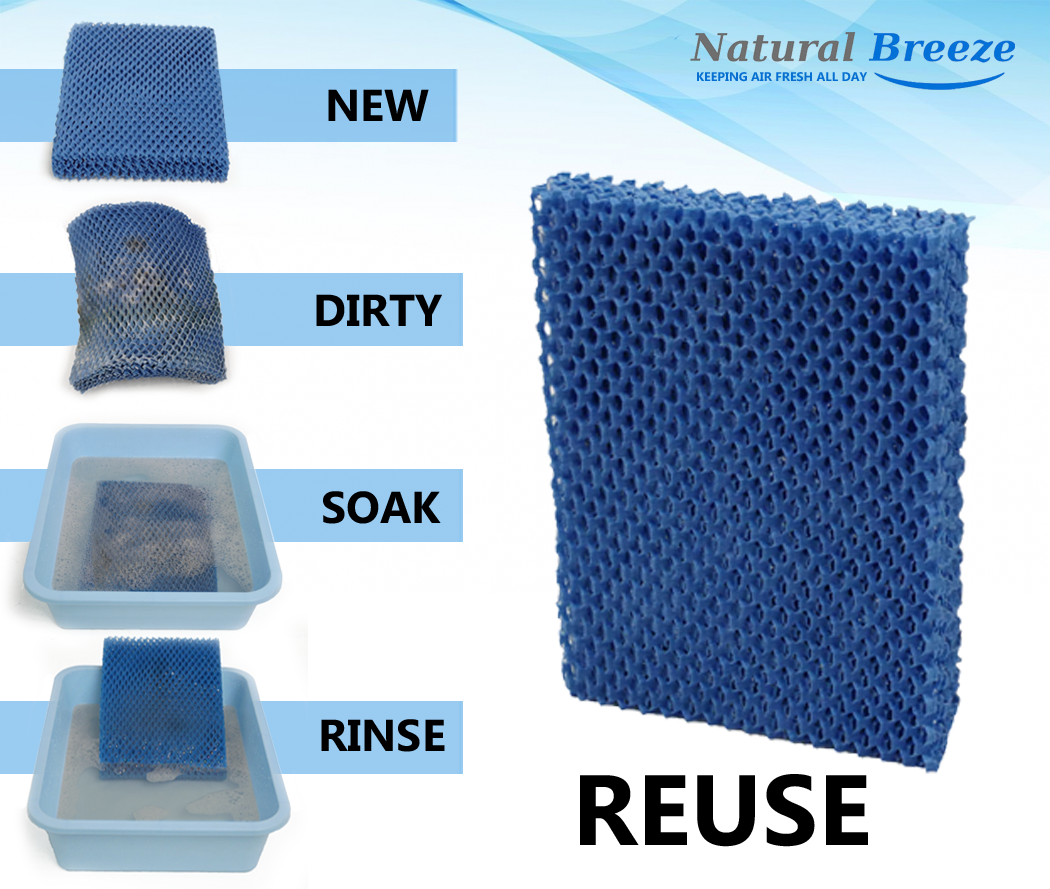
Evaporative models (15420, 15412) demand this non-negotiable step: Soak the wick filter in cold water for 15-20 minutes before first use. Skipping this causes immediate weak output because dry filters can’t absorb water efficiently. Rinse thoroughly under running water to flush manufacturing residues that would otherwise spew into your air as unpleasant odors. When inserting, press firmly until you hear a distinct click—partial seating creates gaps where dry air bypasses the filter, reducing effectiveness by 40%.
Hard water users, heed this warning: Mineral buildup clogs filters twice as fast in areas above 7 grains per gallon hardness. Install a demineralization cartridge immediately and replace filters every 30 days instead of 60. Check your filter weekly by holding it up to light; if you can’t see through it clearly, replace it now. Ignoring the red filter indicator light risks bacterial growth in saturated media, turning your humidifier into an allergen factory.
Water Tank Filling Process Without Leaks or Damage
Choosing Your Water Type
Tap water isn’t always safe water. If your area has hard water (check local utility reports), switch to distilled or demineralized water immediately. Minerals in hard water vaporize into white dust that coats electronics and furniture—a problem ultrasonic models (like 758.154120) suffer most from. Never use hot water; temperatures above 90°F warp plastic tanks and void warranties. For evaporative models, add one capful of bacteriostatic treatment per refill to prevent slimy biofilm.
Quick Fill Method
- Unplug completely—safety first to avoid electrical shorts
- Lift tank vertically—no tilting that spills water into base electronics
- Unscrew cap counterclockwise—over-tightening later causes cracks
- Fill to MAX line only—overfilling triggers automatic shutoff errors
- Hand-tighten cap until resistance stops (no wrenches!)
- Align tank markers with base arrows before seating
- Wait 90 seconds for water to saturate filter/wick before powering on
Control Panel Operation for Precision Humidity
Digital Models (15420 and similar)
Humidity set is your secret weapon: Target 35-45% in winter (never exceed 50% where mold thrives). Press the humidity button until your desired level appears—the unit auto-adjusts fan speed to maintain it. Use auto mode when you’re home; it silently boosts output when humidity drops below your set point. Activate night mode by holding the fan button 3 seconds—it dims the display 90% and drops noise to 26dB (like rustling leaves). For allergy sufferers, enable the UV-C light; it sterilizes water continuously without user input.
Manual Controls
The humidistat dial is often misused: Set it to 45% initially, then adjust based on comfort. If condensation forms on windows, dial down to 40%. The red reset light isn’t optional—replace filters within 24 hours or output plummets 70%. For quick relief in dry spells, crank the power knob to high for 30 minutes, then return to medium for maintenance. Never run the unit above 60% humidity; this breeds dust mites and peels wallpaper.
Troubleshooting Emergency Fixes
No Mist Output
Perform this 20-second diagnostic:
– Check water level (tank may look full but base is empty)
– Verify tank alignment by wiggling it—if loose, reseat firmly
– For ultrasonic models, clean the nebulizer with a cotton swab dipped in vinegar
– If room humidity reads above 50% on a separate hygrometer, lower your set point
White Dust Everywhere
Stop it in 1 hour:
1. Drain tank immediately
2. Switch to distilled water for next 3 refills
3. Insert demineralization cartridge (sold separately)
4. Run unit on high for 30 minutes to clear residue
Water Leaks
90% of leaks trace to these causes:
– Hairline crack in tank (inspect by filling in sink)
– Tank cap not hand-tightened evenly (cross-threaded)
– Filter installed upside-down in evaporative models
– Base overfilled from improper tank seating
Performance Optimization Secrets
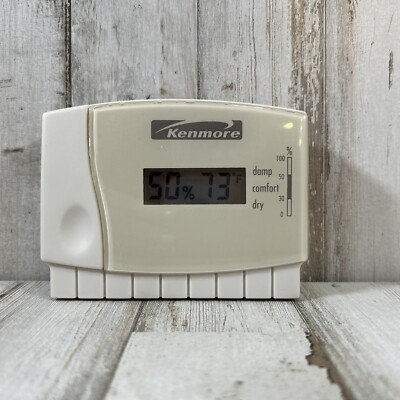
Place a hygrometer 5 feet from the unit—built-in sensors drift 10-15% over time. In winter, set humidity to 35% when outdoor temps are below 20°F to prevent window condensation. For whole-house coverage, position console models near HVAC cold air returns with doors slightly ajar. Add protec cleaning balls to the tank for continuous antimicrobial action—they outlast three filter changes. During allergy season, run the unit 2 hours before bedtime to settle airborne irritants.
Safety Precautions That Prevent Disasters
These rules are non-negotiable:
– Never operate with a frayed power cord—replace immediately
– Unplug before moving, even across the same room
– Keep 4+ feet away from children’s beds (warm mist burns skin)
– Never add essential oils directly to water—use the aromatherapy tray only
– Wait 15 minutes between shutoff and restart to cool the motor
Seasonal Storage That Extends Lifespan
End-of-Season Prep
- Run a full vinegar cleaning cycle
- Disassemble and air-dry all parts for 72 hours
- Store in original box with silica gel packets
- Keep in climate-controlled space (never garages/attics)
Spring Reactivation Checklist:
– Inspect tank for hairline cracks with flashlight
– Install new filter (evaporative models)
– Test UV-C light function
– Calibrate humidistat against a standalone hygrometer
Your Kenmore humidifier’s lifespan doubles with these habits. Start tonight: empty the tank, rinse with vinegar, and refill with distilled water. Within 48 hours, you’ll wake up without dry throat or static shocks. Remember—the single biggest performance booster is daily tank emptying; this prevents bacterial growth that clogs internal components. If you take away one tip, make it this: set your humidity to 40% and use a separate hygrometer to verify. Follow these steps precisely, and your Kenmore unit will deliver whisper-quiet comfort for 5+ years. Ready to conquer dry air? Plug in your humidifier and feel the difference tonight.


