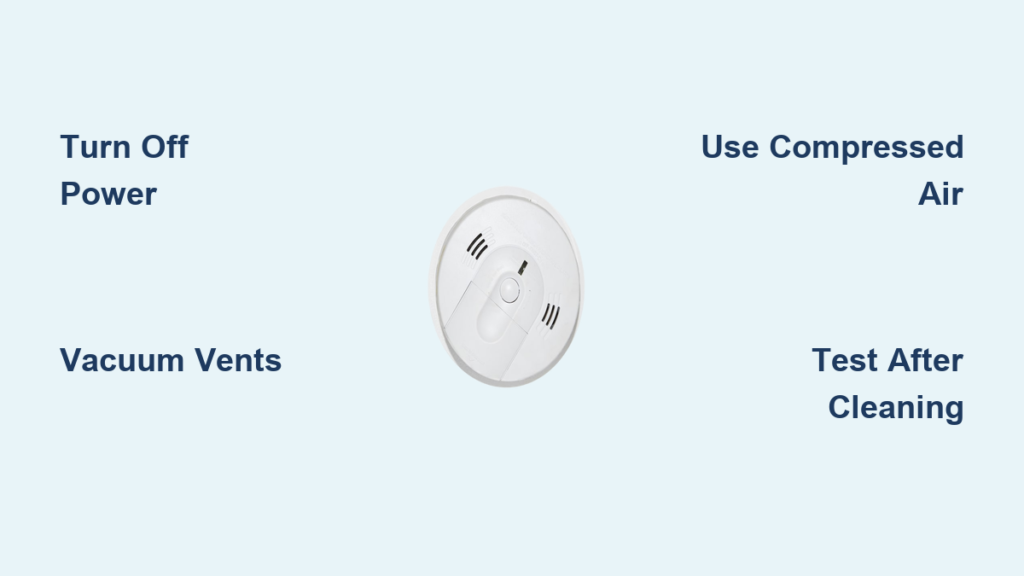
Smoke detectors save lives, but only if they work properly. A dirty smoke detector can trigger false alarms or, worse, fail to sound during a real fire. Dust, insects, and debris build up over time, especially when heating systems kick on and circulate particles through your home. Knowing how to clean a smoke detector correctly is essential for reliable performance and peace of mind.
Cleaning your smoke alarm doesn’t require special tools or technical skills, but it does demand caution. Never use water or cleaning sprays, and always disconnect power or remove the battery first. This guide walks you through every step, from safe removal to post-cleaning testing, so your detector stays alert when it matters most. You’ll also learn how often to clean, what tools to use, and when it’s time to replace rather than clean. Whether you have a First Alert, BRK, or another brand, these proven methods keep your alarms functioning at their best.
Remove the Detector Safely
Before cleaning, take the unit down carefully to avoid damage.
Turn Off Power or Remove Battery
For hardwired detectors, go to your circuit breaker and shut off the power to the unit. For battery-operated models, simply remove the battery from the back. This prevents accidental triggering and protects internal electronics during cleaning.
Rotate Counterclockwise to Detach
Most smoke detectors mount with a twist-lock design. Gently rotate the unit counterclockwise until it releases from the base. It should come free with slight pressure; don’t force it. If it resists, check your model’s manual, since some units have release tabs or screws.
Pro Tip: Take a photo of the wiring for hardwired units before disconnecting, so reinstallation is easier.
Vacuum Dust from Sensor Vents
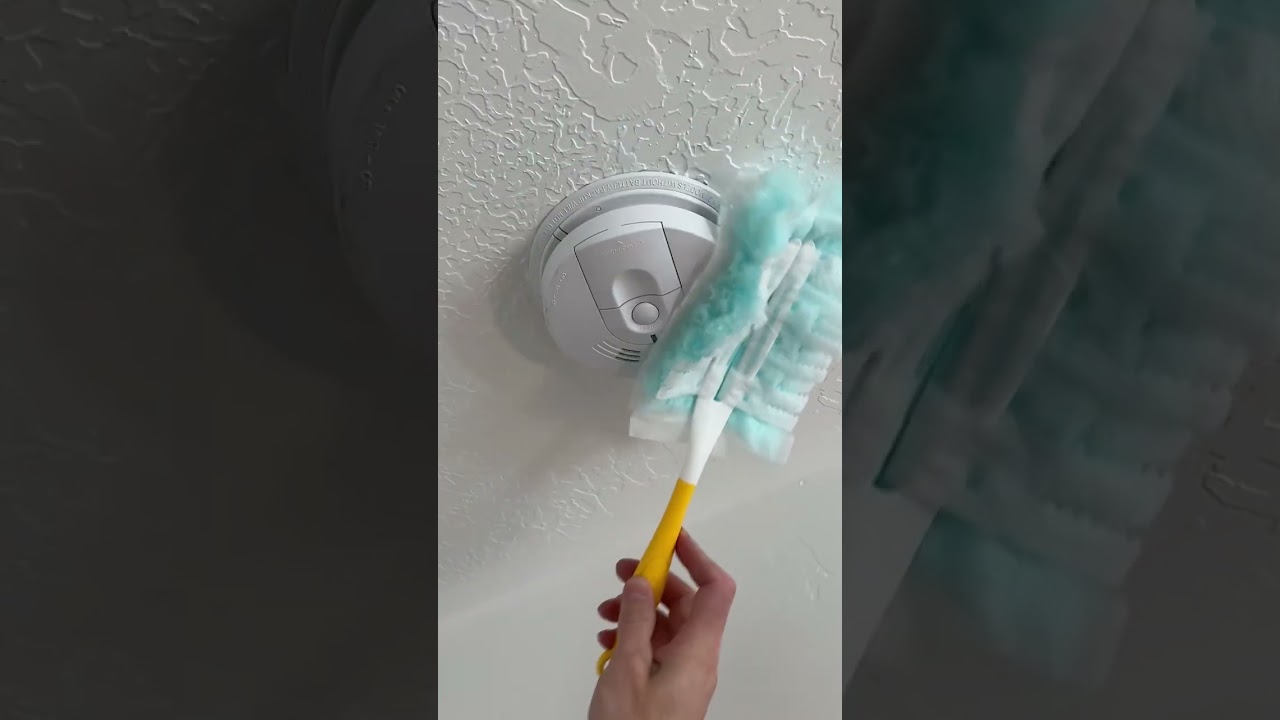
Dust is the top cause of false alarms. Vacuuming removes loose debris without risking moisture damage.
Use Crevice or Brush Attachment
Hold the detector on its edge and use a vacuum crevice tool or soft brush attachment to clean:
– Front cover gaps
– Side vents
– Bottom plate openings
– Small slots near the sensor chamber
Move slowly around all edges. These openings lead directly to sensitive internal components, so be gentle to avoid dislodging parts.
Focus on Sensor Openings
The two small front slots house the detection chamber. Carefully vacuum around them to pull out dust and cobwebs. Don’t insert the nozzle deeply; just hover at the surface to draw out particles.
Warning: Never blow into the unit with your mouth. Moisture from breath can corrode sensors.
Blow Out Remaining Debris
Vacuuming removes surface dust, but compressed air clears what’s trapped inside.
Use Canned Air in Short Bursts
Hold the can upright and spray in short bursts into the sensor vents. Tilting the can can release liquid propellant, which damages electronics. Target:
– Front sensor slots
– Side and top vents
– Any visible openings
Keep the nozzle one to two inches away. Don’t shake the can excessively, since this increases moisture risk.
Cool Hair Dryer Alternative
No canned air? Use a hair dryer on cool or air-only setting. Hold it six to eight inches from the unit and blow air into the vents. Avoid heat settings, which can warp plastic or damage circuitry.
Expert Note: Compressed air is more effective than blowing by mouth or using fans, reaching deep into chambers where dust hides.
Wipe Exterior Surfaces Gently
A clean housing improves airflow and appearance without risking internal damage.
Dampen Microfiber Cloth Slightly
Use a dry or slightly damp microfiber cloth to wipe the outside. For stubborn grime like kitchen grease, lightly moisten the cloth with water only; never spray directly on the unit.
Wipe:
– Plastic casing
– Mounting base
– Test button and indicator light
Ensure no moisture seeps into vents. Even a small amount can short-circuit the alarm.
Avoid Cleaning Chemicals
Never use window cleaners, disinfectants, or aerosols. These can degrade plastic and leave residues that interfere with sensor function.
First Alert/BRK Tip: Their manuals specify water-dampened cloths are safe for exteriors; just don’t soak the unit.
Reinstall and Test the Unit

After cleaning, proper reassembly ensures your detector works when needed.
Reattach and Restore Power
Align the unit with the mounting base and rotate clockwise until it clicks. For hardwired alarms, restore power at the breaker. For battery models, insert a fresh battery, even if the old one still works.
Press Test Button to Confirm Function
Hold the test button for five to ten seconds. You should hear a loud, clear alarm. If it’s weak, delayed, or silent:
– Check battery connection
– Re-clean sensor vents
– Consider replacement if over 8 years old
Critical: Always test after cleaning. A non-responsive alarm is a deadly risk.
Determine Your Cleaning Frequency
The right schedule depends on your environment and detector brand.
Monthly Cleaning for First Alert/BRK Models
These brands recommend monthly cleaning using vacuum and wipe methods. Homes with pets, smokers, or frequent cooking benefit from this schedule.
Annual Cleaning for Most Households
For most households, annual cleaning is sufficient, especially before heating season begins. Furnace startup stirs up dust that often triggers alarms.
High-Risk Homes Need More Attention
Clean every three to six months if you have:
– Heavy cooking, especially frying or grilling
– Wood-burning stoves
– Pets that shed
– Construction or renovation dust
– High humidity in bathrooms or basements
Seasonal Tip: Mark your calendar to clean detectors when you change clocks for daylight saving time.
Replace Batteries Every 12 Months
Battery failure causes more false alarms than dirty sensors.
Swap Batteries During Cleaning
Change the battery every 12 months, even if the low-battery chirp hasn’t started. Use the same day you clean to build a routine.
Use the Recommended Battery Type
Check your manual for the correct battery, usually 9V or AA. Avoid rechargeables, since they may not deliver consistent voltage.
Pro Tip: Write the replacement date on the new battery with a marker so you’ll know when it’s due.
Use the Hush Button for False Alarms
Sometimes cleaning isn’t immediate, so know how to silence safely.
Silence for 8 Minutes
Press and hold the hush/test button to quiet a nuisance alarm. It disables the unit for up to eight minutes, then resets automatically.
Use this for:
– Cooking smoke
– Shower steam
– Post-cleaning dust in air
Only When Safe
Never use hush unless you’ve confirmed there is no fire or carbon monoxide. CO is odorless and deadly, so never assume an alarm is false.
Warning: Repeated hushing without fixing the cause increases risk. Clean or replace the unit if alarms persist.
Identify the Initiating Unit

In interconnected systems, multiple alarms sound, but only one detects the trigger.
Look for a Flashing Red Light
The initiating unit flashes red once per second during an alarm. All others sound but don’t flash as rapidly.
Silence the Source
Press hush on the flashing unit to stop the entire system. This saves time and avoids confusion during false alarms.
Expert Note: Knowing which unit triggered helps you target cleaning or replacement where it’s needed most.
Replace Detectors Every 10 Years
Cleaning helps, but age eventually demands replacement.
Check the Manufacture Date
Flip the detector over and find the date stamp on the back. If it’s over 10 years old, replace it, even if it still tests okay.
Signs It’s Time to Replace
Replace immediately if:
– It’s older than 10 years
– False alarms continue after cleaning
– It fails the test button
– The casing is cracked or discolored
– It’s been exposed to smoke or water damage
First Alert Warning: Sensors degrade over time. A six-year-old unit in a kitchen or bathroom may already be unreliable.
Gather Your Tools Before Starting
Collect these items to make the job easier:
– Vacuum cleaner with crevice or brush attachment
– Can of compressed air or hair dryer on cool setting
– Microfiber cloth
– Fresh battery
– Step stool for ceiling units
Optional supplies:
– Replacement smoke detector
– Screwdriver if the base is screwed in
No Water, No Sprays: Keep liquids far away. Moisture is the enemy of smoke alarm electronics.
Build a Year-Round Maintenance Schedule
Stay ahead of problems with routine care.
| Task | Frequency | Purpose |
|---|---|---|
| Test alarm | Monthly | Confirm it works |
| Clean detector | Annually (or monthly for First Alert) | Prevent false alarms |
| Replace battery | Annually | Avoid power failure |
| Replace unit | Every 10 years | Ensure sensor reliability |
Bonus Tip: Pair maintenance with seasonal events. Clean when you deep-clean your home, and replace batteries when you change furnace filters.
Know When Cleaning Isn’t Enough
Sometimes the problem goes beyond dust.
Persistent Alarms After Cleaning?
If false alarms return within days, the sensor may be degraded. Replace the unit rather than risk failure during a real fire.
Frequent Chirping?
Even with a new battery, chirping can mean:
– Loose battery connection
– Incompatible battery type
– End-of-life warning, with the alarm chirping every 30 to 60 seconds
Check the manual, as many units chirp once per minute when it’s time to replace the whole detector.
Final Rule: When in doubt, replace it. A $30 detector is cheaper than the risk of failure.
Frequently Asked Questions About Smoke Detector Cleaning
Can I use water to clean my smoke detector?
No. Never submerge the alarm or spray it with cleaning liquids. Water can damage internal electronics and cause failure. Use a dry or slightly damp microfiber cloth on the exterior only, and ensure no moisture enters the vents.
How often should I clean my smoke detector?
Most manufacturers recommend annual cleaning, while First Alert and BRK suggest monthly cleaning for optimal performance. Homes with pets, heavy cooking, or high humidity may need cleaning every three to six months.
Why does my smoke detector keep beeping after I changed the battery?
Frequent chirping after a battery replacement usually indicates a loose connection, an incompatible battery type, or an end-of-life warning. Check the battery fit and confirm you’ve installed the correct voltage. If chirping continues, the detector may need replacement, especially if it’s over 10 years old.
What’s the best way to remove dust from sensor vents?
Use a vacuum crevice attachment or soft brush to remove surface dust, then follow up with short bursts of compressed air from an upright can. This combination clears debris from deep inside the sensor chamber without introducing moisture.
How long do smoke detectors last before replacement?
Manufacturers recommend replacing smoke detectors every 10 years. Even if the unit still tests fine, aging sensors become less reliable over time, increasing the risk of false alarms or failure during an actual fire.
Key Takeaways for Cleaning Your Smoke Detector
Knowing how to clean a smoke detector properly keeps your home safe and avoids unnecessary panic. Use a vacuum, compressed air, and a dry cloth, and never use water or chemicals. Clean at least once a year, or monthly for high-risk areas and First Alert models. Replace batteries annually and retire units after 10 years.
A few minutes of maintenance can prevent a false alarm at 3 a.m. or ensure your alarm sounds when it truly matters. Start today by checking the manufacture date on each unit and clearing your calendar for a quick cleaning session. Stay proactive, stay safe, and keep every detector in your home ready for action.